
Are your kids blanket crazy? Mine are. Blankets, blankets, everywhere. You need them for super hero capes and building forts after all.
I am admittedly, the worst sewer in existence. If someone who truly sews, watched me just setting up my mechanical Threadbanger, or even just threading the needle, they would likely cringe so hard their face would burst a blood vessel. I know this about myself. It isn’t that I lack a brain so much as I just don’t care enough at this point in my life to actually find the time to get better. With this horde of children, I am very selective with my hobbies because…… time. When it comes to sewing, I am aware of my limits, so I stick with the basics like pillows, blankets, baby pants, animals, and maybe a bag here and there. So, if you are a pathetic sewer like me and need a quick and nitwit proof project to use up a bunch of extra fabric, here you go. Also, a simple turn and top stitch is an easy way to make a bedspread when you don’t want to spend the money on the one you really want.

A turn and top stitch blanket.
First, wash and dry your fabric. You don’t want one side to shrink. Decide on the size of your blanket, and cut two pieces of fabric in that size. You want two swathes of fabric so you have a front and back. Place your sheets of cloth on top of each other with the outside facing in. Then pin it together. Basically, you have an inside out blanket held together with pins. Groundbreaking, I know.
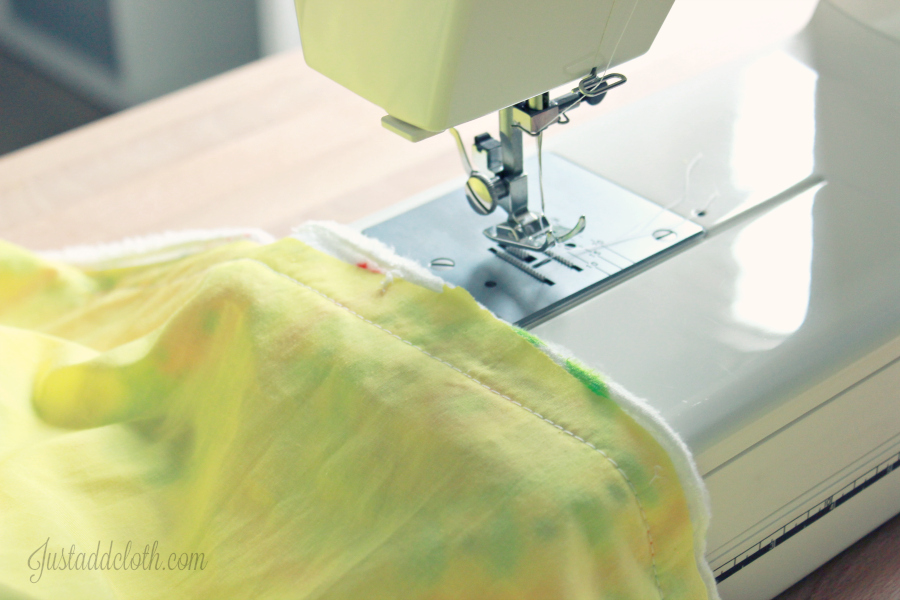
Set up your machine and use a simple stitch. We don’t need to get fancy. Leave that to the other people. Sew a straight line up each side of your blanket about a half inch from the edge. Make sure to cross each line by a couple stitches at each corner. Also make sure to leave a one foot non-sewed gap on one side of the blanket. Remove your pins and use the gap to flip the blanket to right side out.
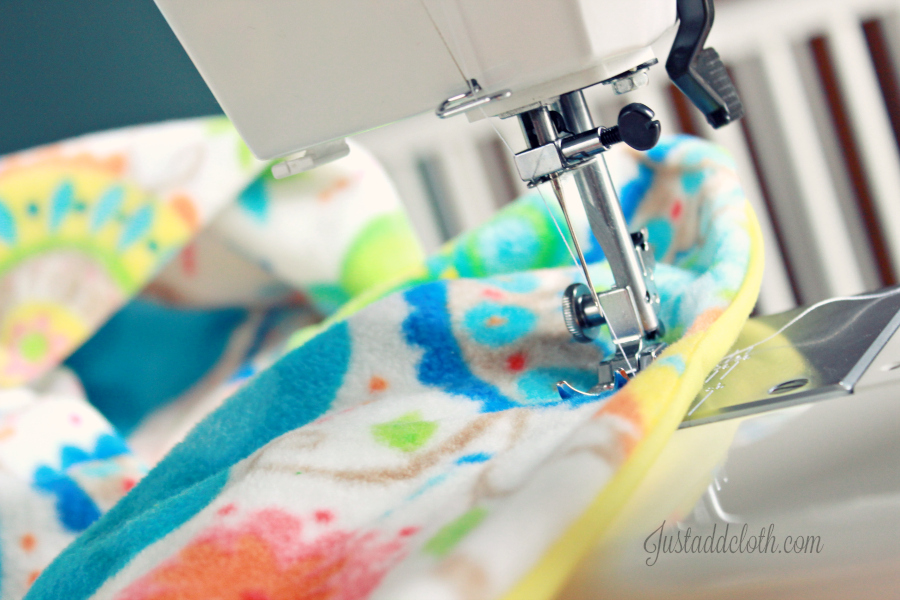
Once it is right side out, smooth it out and sew a straight line up each side again, about one inch from the edge. When you reach close to a corner, slow down so you don’t go over the edge. Stop an inch from the edge and turn the blanket before continuing so that you have a neat top stitch in your corners.
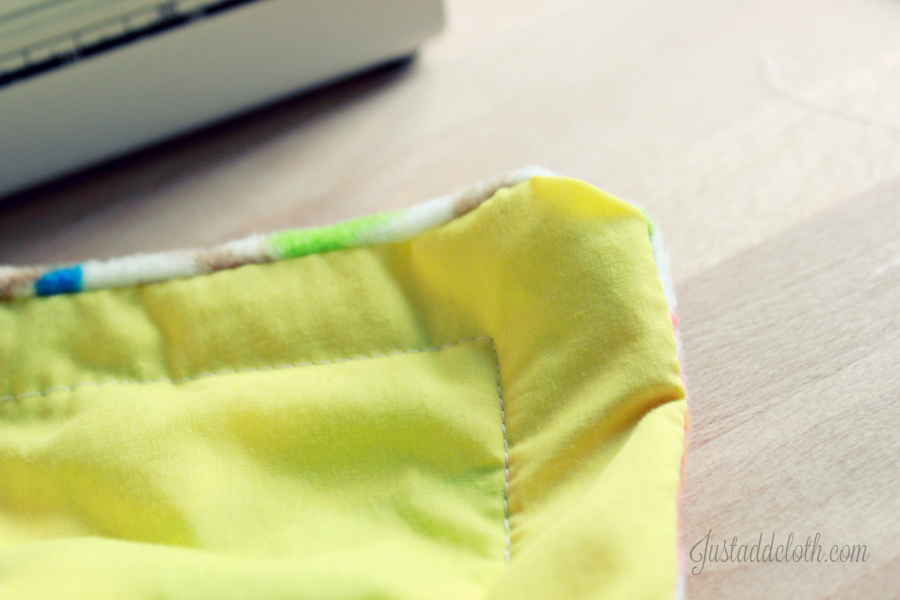
When you get to the gap, just continue with your uninterrupted top stitch line. Fold under the outer edge of the fabric at the gap and stitch it closed. (Or stitch it by hand.)
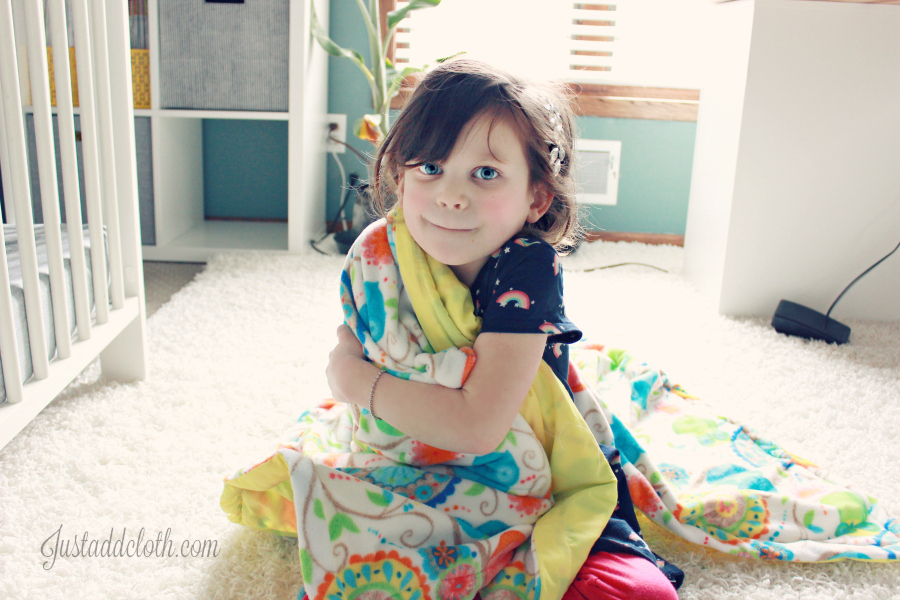
Trim any threads hanging out and hand it to your kid, who will think it is great and not even notice the crooked seams. This whole project only takes probably 20 minutes for someone who knows what they are doing, and about an hour for someone like me, haha. Anyway, it is a good way to use up discarded piles of fabric I no longer want cluttering up my baskets. Just be prepared to do it all over again six more times in miniature for your daughter’s dolls.