Chalkboards are STILL trendy right now. It isn’t surprising, considering they are really just the original whiteboards. I grew up with chalkboards in the kitchen and drinking Koo-laid out of mason jars, so it makes me laugh that we now consider these things to be lifestyle trends. I am so glad to know I was cool and trendy back in 1983!
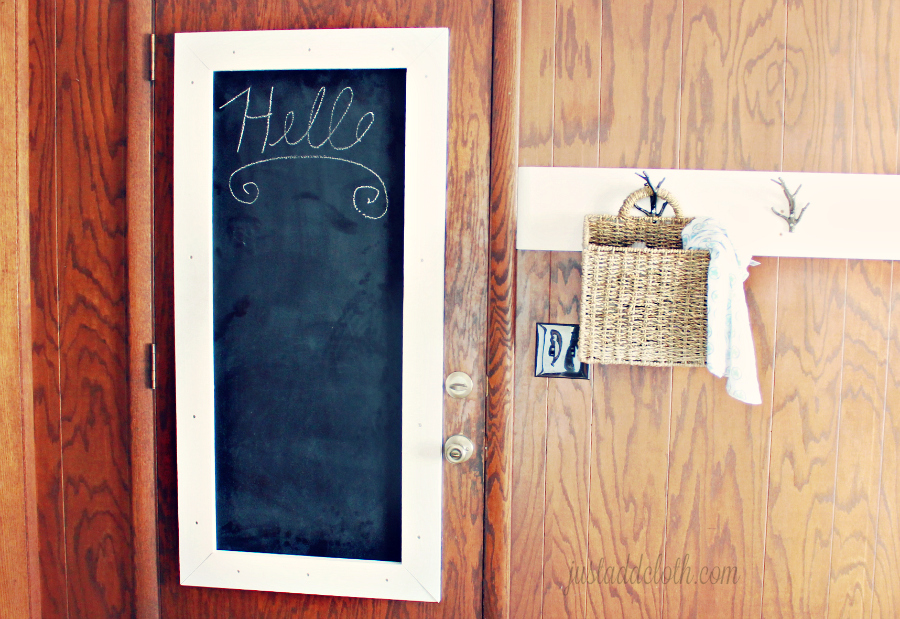
I decided we needed a big chalkbaord in our garage entry since leaving notes on the table was never going to be helpful. That would mean we had to clear all the junk off the table to make the note noticeable. Not to mention, convince the kids not to touch the note. Not gonna happen.

So chalkboard it is!
Our house is an early sixties model with almost zero updates, so the vintage feel of a chalkboard went better with our design vibe than a whiteboard anyway.
Chalkboard Materials
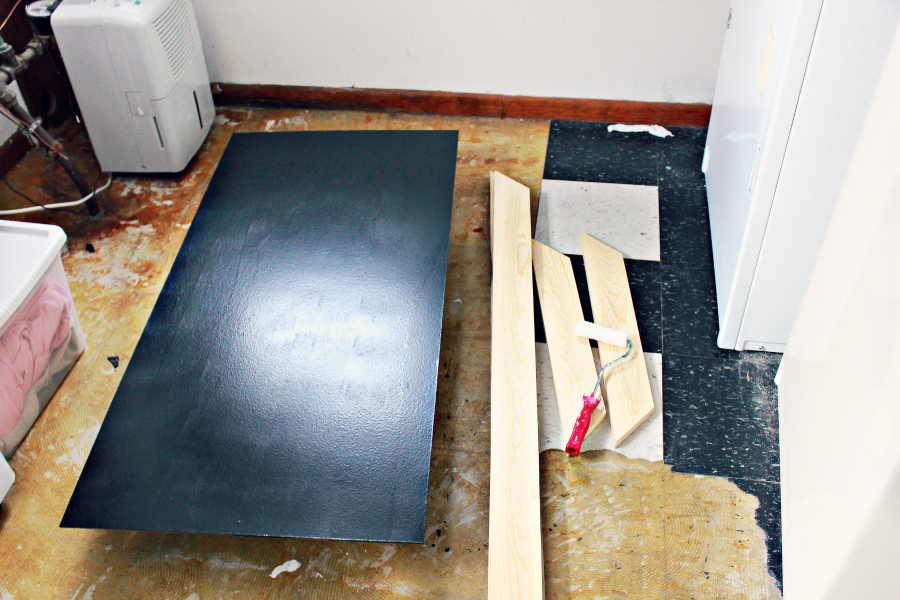
- 2’x4′ Masonite/hardboard (1/4 in)
- 12 feet of 1×4 fir
- Chalkboard paint
- Paint for frame
We picked up the firring strip wood and hardboard at Home Depot and the chalkboard paint at ACE. I think Target even carries chalkboard paint these days.
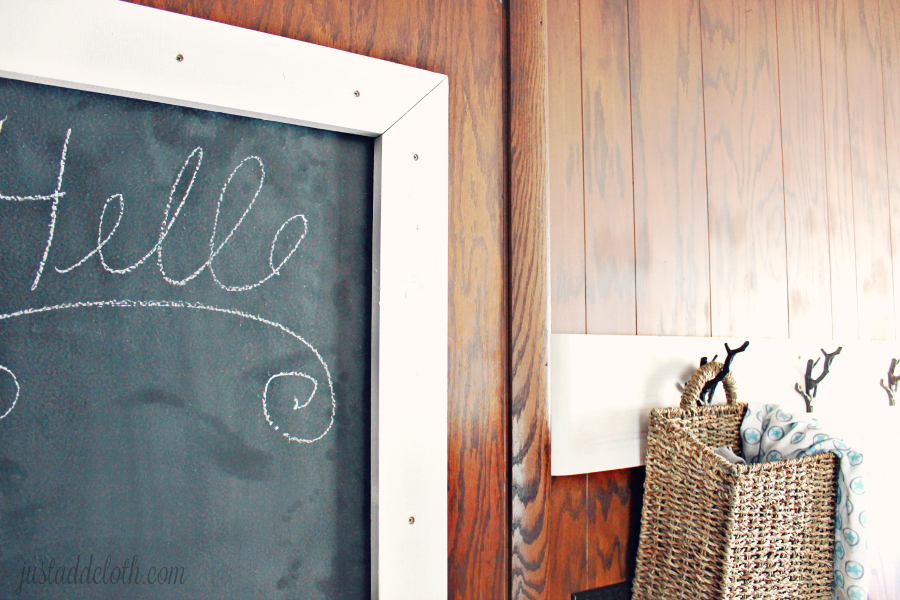
This frame is screwed through the hardboard to the door so that the board is flat against the door. That way we can press hard. This means the inside of the frame needs to be smaller than the dimensions of the board.
We cut the vertical wood strips to 51 inches, then used a miter saw to make a 45° angle cut toward the inside on each end, leaving the inside measurement as 45 inches. The top and bottom strips ended up 25 inches on the outside. We left the four frame boards separated. We sanded the frame strips a bit to smooth them out and painted white.
For the hardboard, I did four coats of chalkboard paint in black. Actually, I accidentally bought green and did the first two coats in green and decided I didn’t like it. Haha.
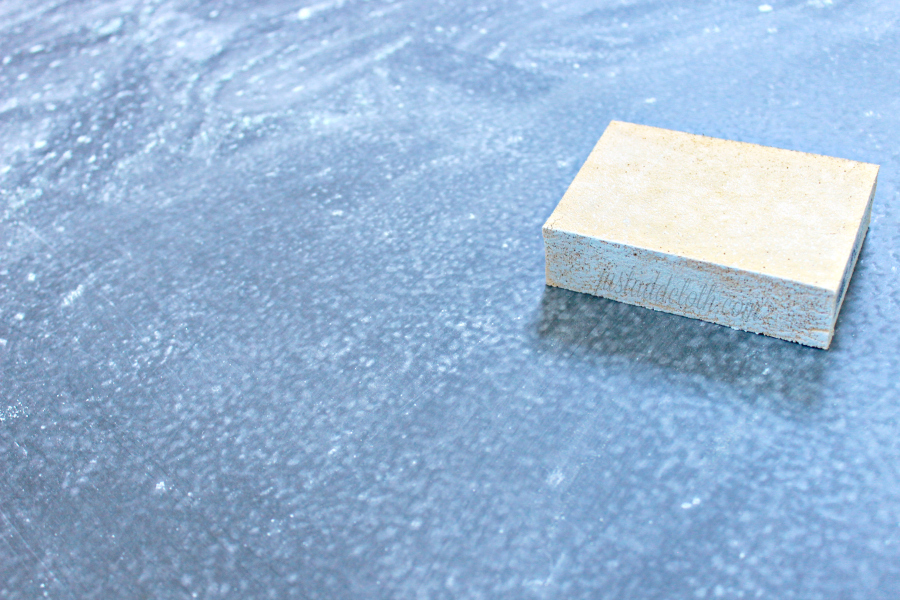
Once the paint was dry and set ( give it four days to make sure it is hard enough) it was time for seasoning. If you don’t “season” your chalkboard first, whatever you write on it first will basically be permanent. So, get a large piece of white chalk and lay it flat. Gently color in your entire board with white chalk. Use your hand to rub it in a bit. Erase the chalk, and coat the board again. Be careful to use a softer chalk for seasoning so you don’t scratch the paint. Erase chalk with chalkboard eraser or microfiber cloth. DO NOT USE WATER.
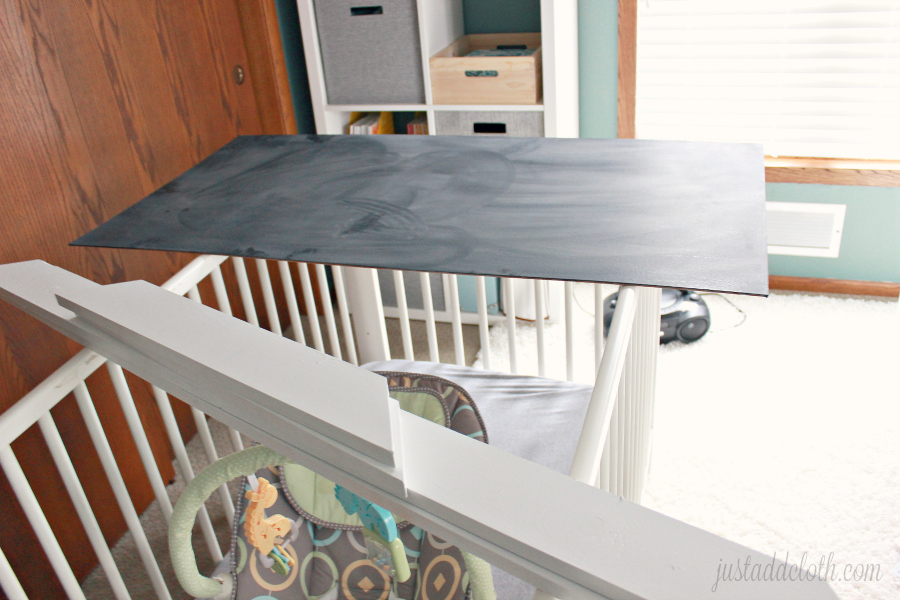
Then I proceeded to leave this project lay on the crib in my office for about two months while life got in the way. Haha.
Adhere your hardboard to the door or wall. The frame will be doing most of the legwork for holding it up, so you don’t need to go heavy duty with anchoring or anything. We used a couple small screws.
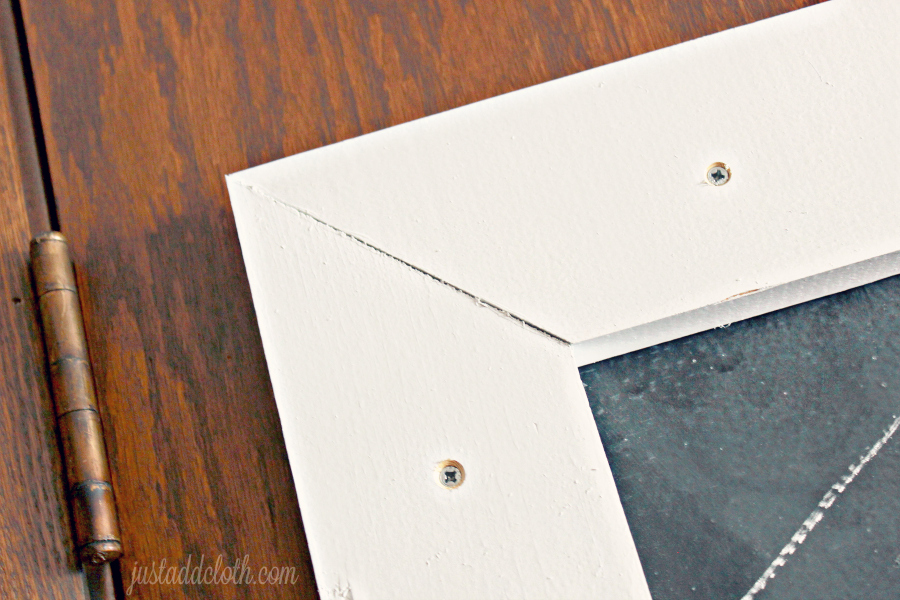
For the frame, you might want to use a stud finder if installing on a wall. We installed on an oak door, so we just screwed right into the door. Pre-drill holes on your frame where you need them to hang. If you don’t pre-drill you might split your wood. Grab a friend and have them hold your framing pieces up over the hardboard. Make sure you center your frame so that it overlaps the board by and inch on each side.
Using three inch screws, we adhered our frame one side at a time.
And done!
Now we have a place to create happy birthday signs for each kid, make grocery notes and leave messages. Keep in mind, a large chalkboard does leave chalk dust on the floor below it. Since the floor of our mudroom area is always in need of a scrub, this is not an issue for us. Just something to think about if your hate dust.