
Making progress on projects is certainly a challenge when you are a million months pregnant and have rambunctious toddlers about. Especially when you add in trying to work a job and run a household. The chaos is never ending. I finally seem to have the new house in functional order, even though we still don’t own any adult sized chairs. I would love to sit at a table some day! I am really making headway on the girl room makeover. Lamps, rugs, and cribs are in place. I am still waiting on our blinds, which has been a thorn in my side ever since a six week promise turned into a 12 week one.
However, I have finally finished the flag bunting project! Yes, the one I posted about over a year ago and never got around to making. I have had my fabric sitting here since last Summer, but I didn’t make the bunting once we decided to sell our house and move. I wanted it to stretch across the ceiling on a diagonal, and it made no sense to make it when it was going be going in a new room with unknown dimensions.
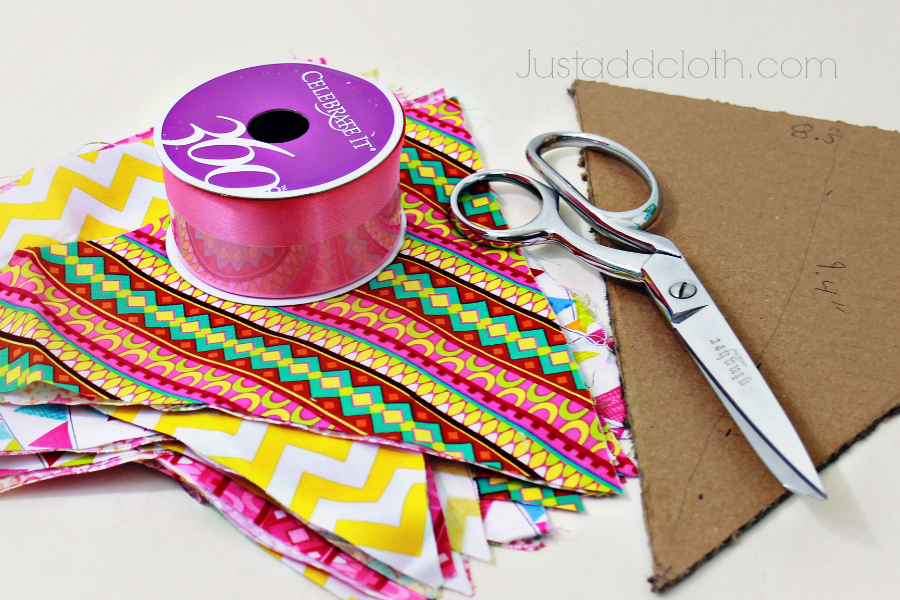
Wyn and Baby’s room has a 17 foot diagonal, so I needed 24 flags in the 8.5 inch size I had decided upon. I wanted them double sided since they were going along the ceiling, so I traced my homemade cardboard flag template on my fabric and cut out 48 triangle flags. I only have fabric sheers, so it was a pain in the butt. If you have a rotary cutter, that is definitely the way to go!
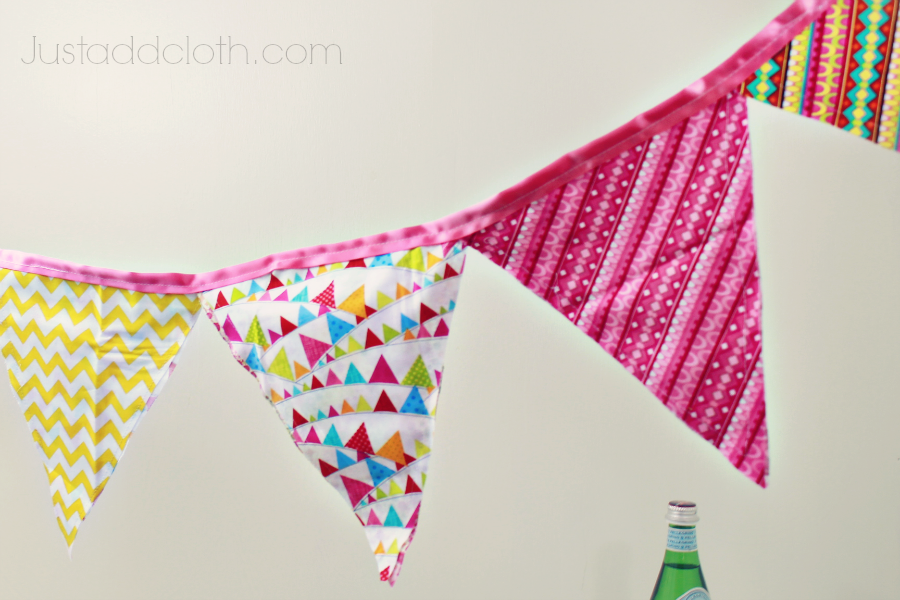
Now, when making a flag bunting, you can go in a few different directions. You could place your fabric print side in and stitch the rims, then turn and top stitch them for a very polished look. Or you can place the triangle print side out and just stitch a 1/4 inch in from the rim. You can just let the outer rim fray, or you could use pinking sheers to give a visual zigzag and avoid fraying. I chose to just top stitch with a straight stitch about a half inch from the edge and let it be to fray. I like the frayed look for this type of project. Plus it is easy, which I wanted when dealing with 24 double sided flags. You don’t need to stich the top edge of the flag, since it will be sewn into the ribbon.

Aaaahhh, the ribbon. Sewing with slippery ribbon is always a challenge. I would have used bias tape/binding, but our Michael’s is pretty limited and I needed to just get this done. So I purchased seven yards of 1.5 inch ribbon. I jammed my sewing machine about 20 times during this project. Mostly because I am not really a sewer, but partly due to the ribbon being a pain. Fold your ribbon over the top edge of the flag and pin it in place. line up your next flag with a half inch overlap on the previous flag. Pin it and so on. Straight stitch your binding about a 1/4 inch from the bottom ledge of the ribbon. To go quicker, don’t pin at all, but the ribbon is slippery,so it is not that easy. I recommend ironing your ribbon after pinning for a smoother process.
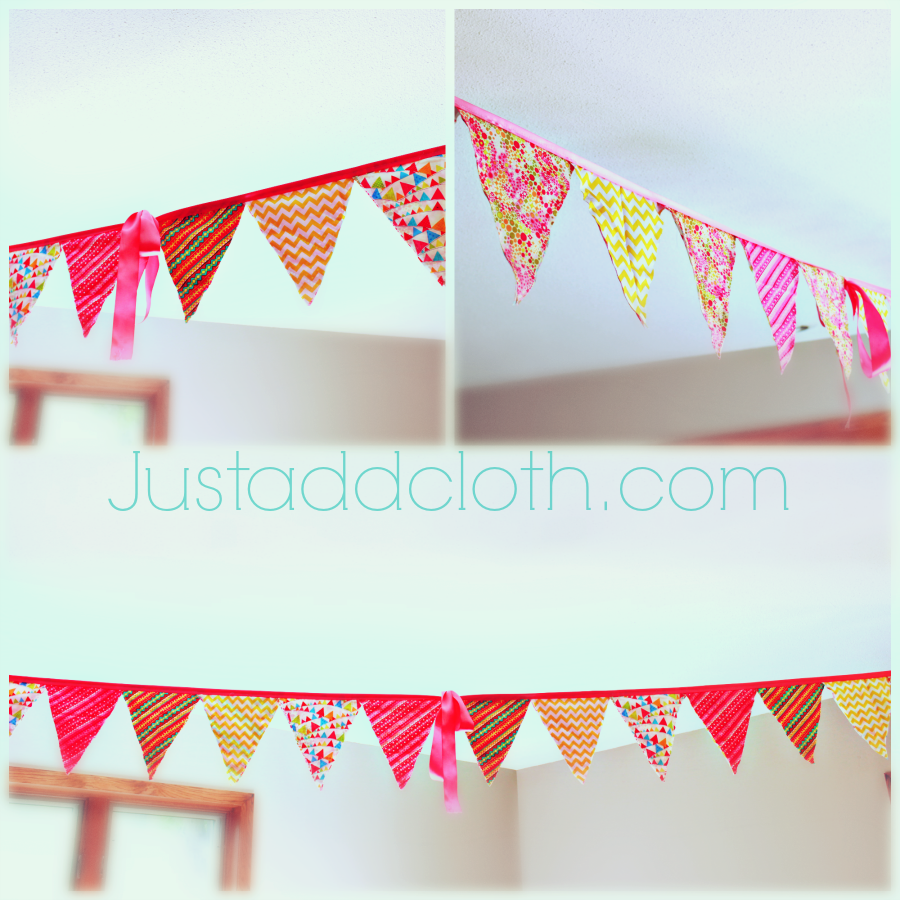
Since doing all 24 flags in a single bunting was too tedious, I did two 12 flag buntings. I left enough ribbon on the ends to tie them together in the a big bow in the center of the room.
This room has a ways to go before it is”finished”, but we are making progress! I will be honest, I don’t think I will ever again make such a large bunting. This type of project should only take an hour if you make a small one to hang over a crib. A 17 foot bunting with annoying ribbon took many hours and was a tangled mess. I can totally see why some of those business owners on Etsy charge so much for the larger buntings. They are a pain in the butt. However, a small one is easy.
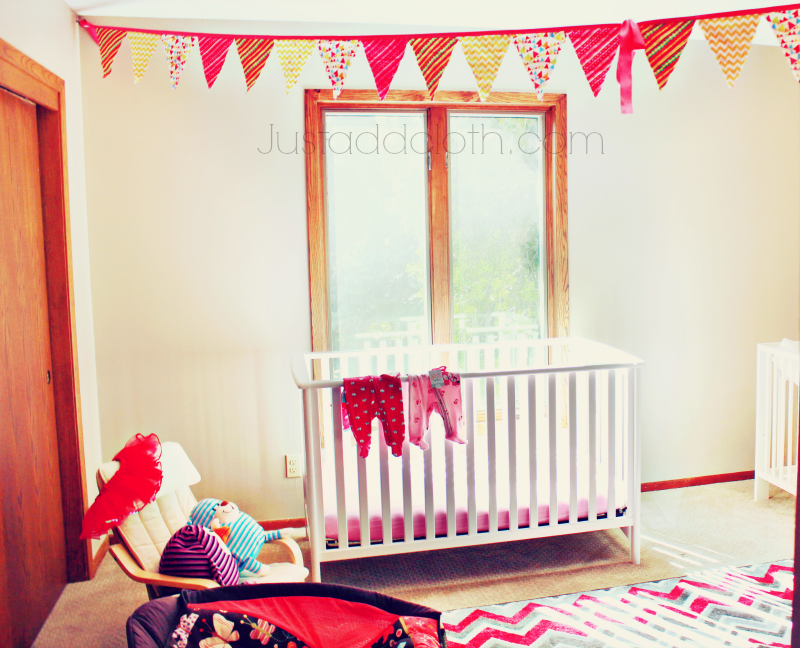
Hopefully, we will get our window treatments soon and I can get some lighting set up for some after pictures of the girl room. I still need some sort of artwork or decals for the walls. They are just so GREY.
It’s coming along now! I love the rug and bunting together!